DIY School Memory Boxes
As an Amazon Associate I earn from qualifying purchases.
Are you not sure what to do with all of that school and artwork your kids bring home? Learn how to make your own school memory boxes. It’s easier than you think to organize your kid’s school and artwork!
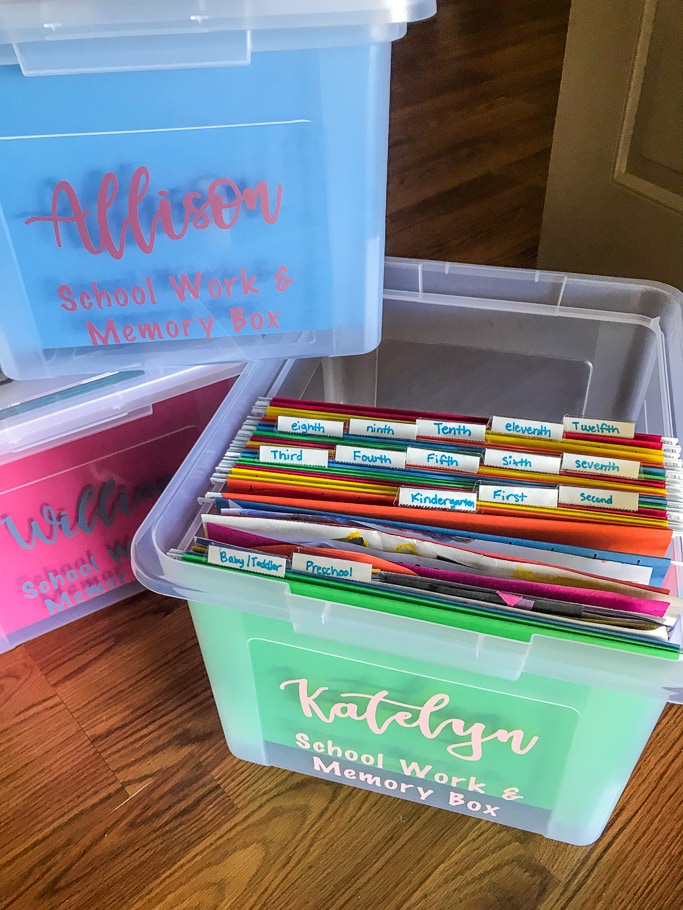
We love getting organized around here! We have also shared how we made our own command center wall and our clipboard chore chart with clothespins. You might like our tutorial on how to spray paint picture frames, too!
I don’t know about you but my kids come home with loads of papers every single week. Now, I am pretty ruthless when it comes to throwing things away, but there are still many papers and artwork that I want to keep and remember! That is where the school memory boxes come in!
Supplies needed for School Memory Boxes
How to Make School Memory Boxes
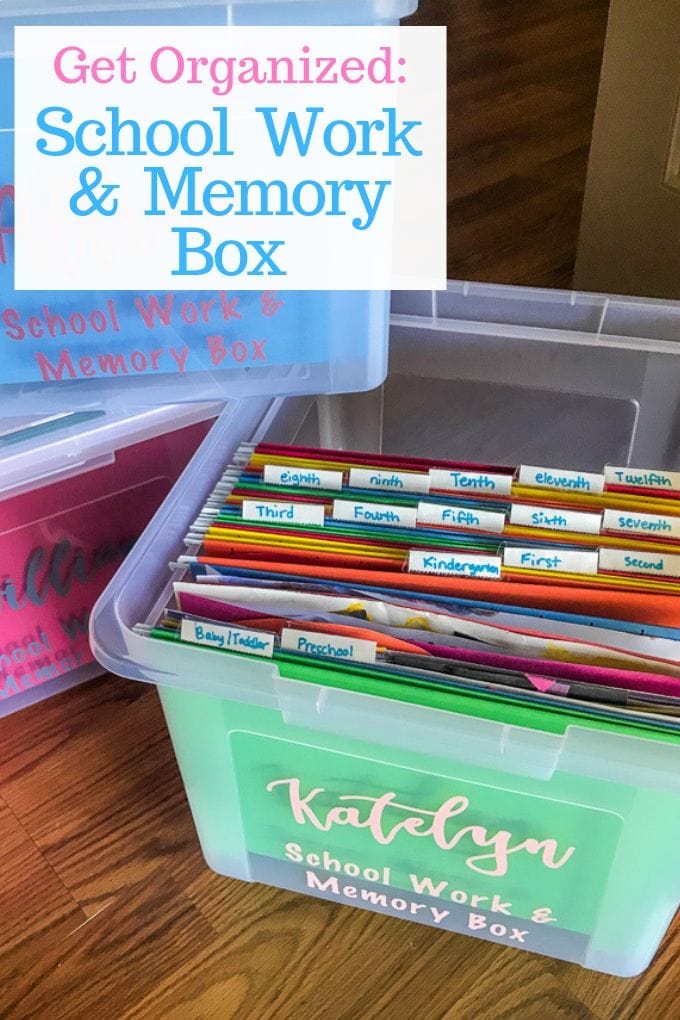
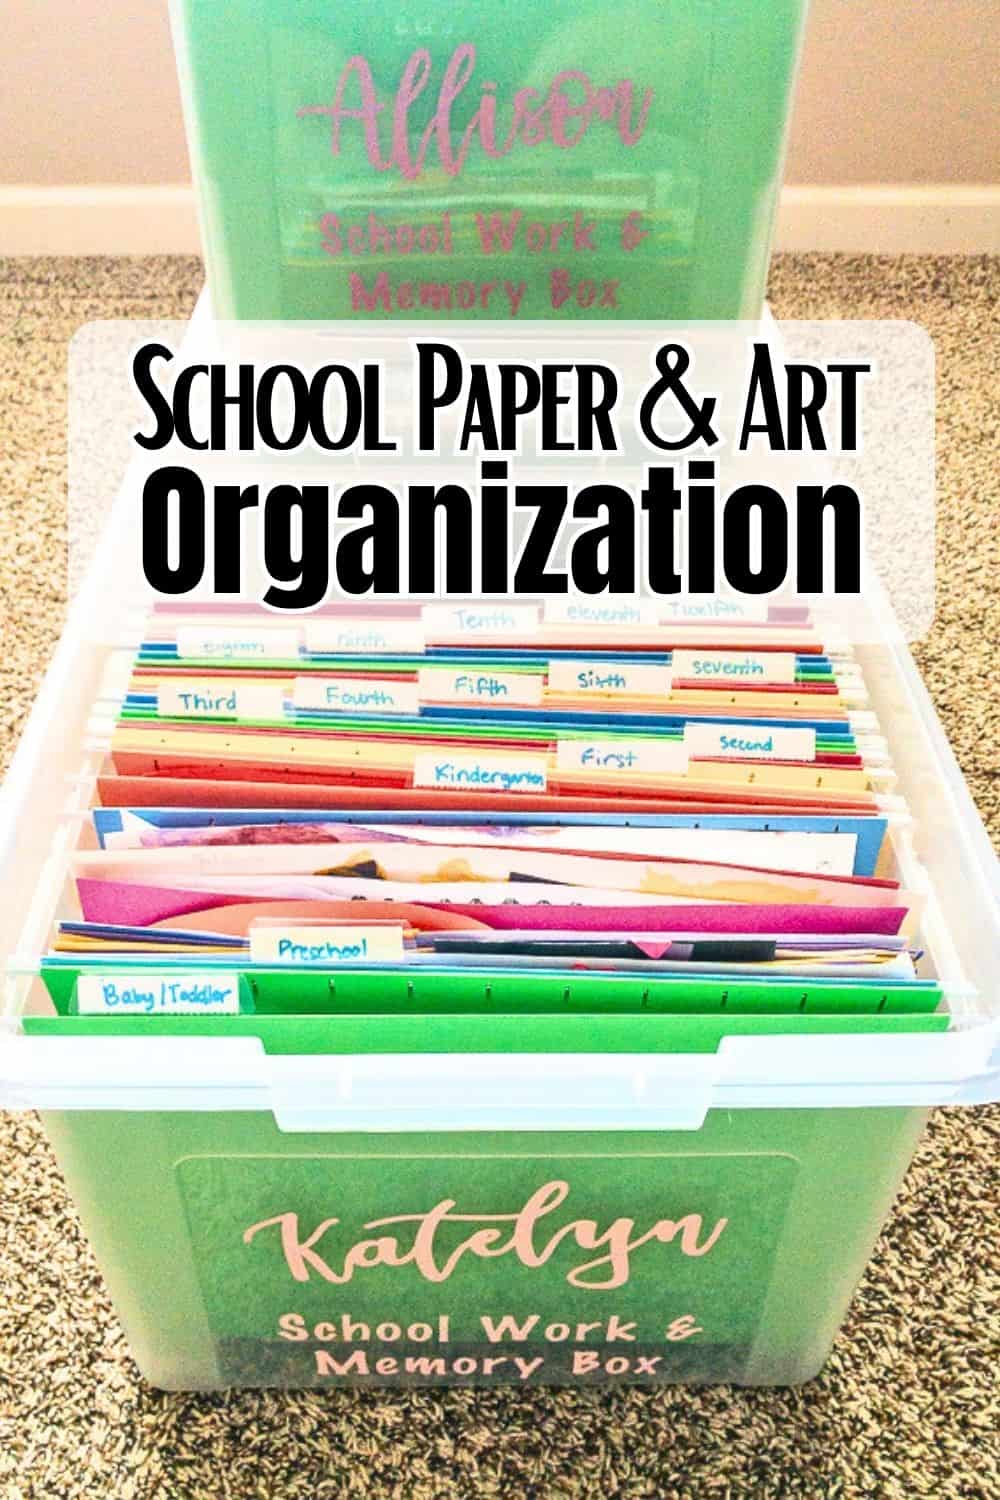
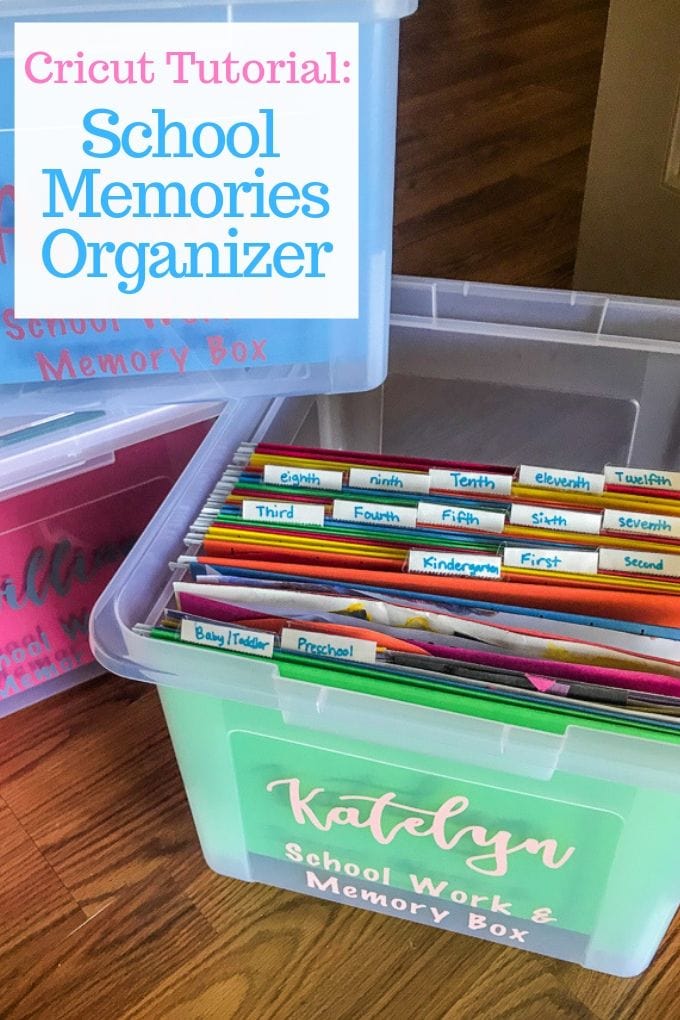
- Start with a Plastic Storage Container made to hold file folders.
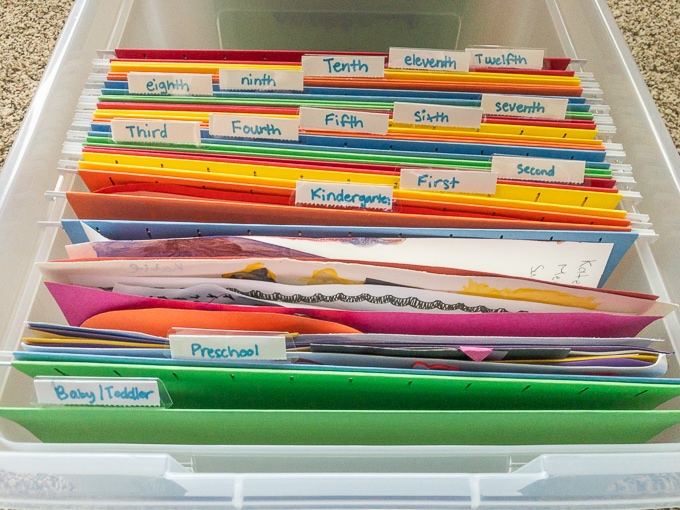
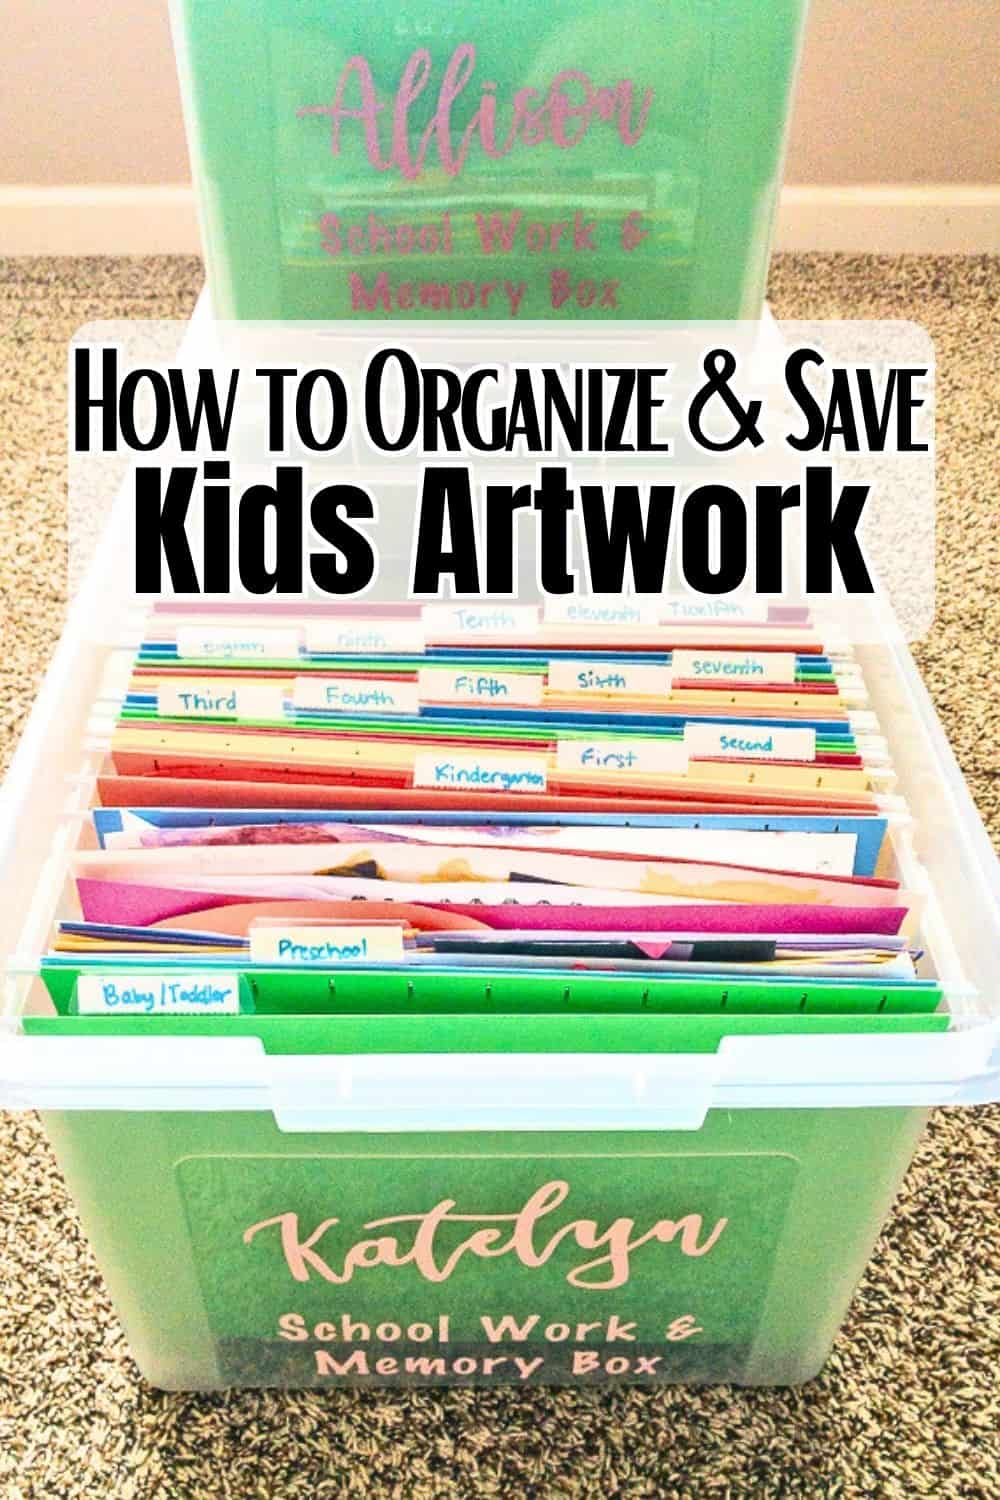
- Collect 14 hanging folders and label them baby/toddler, preschool, kindergarten, first… all the way to twelfth grade.
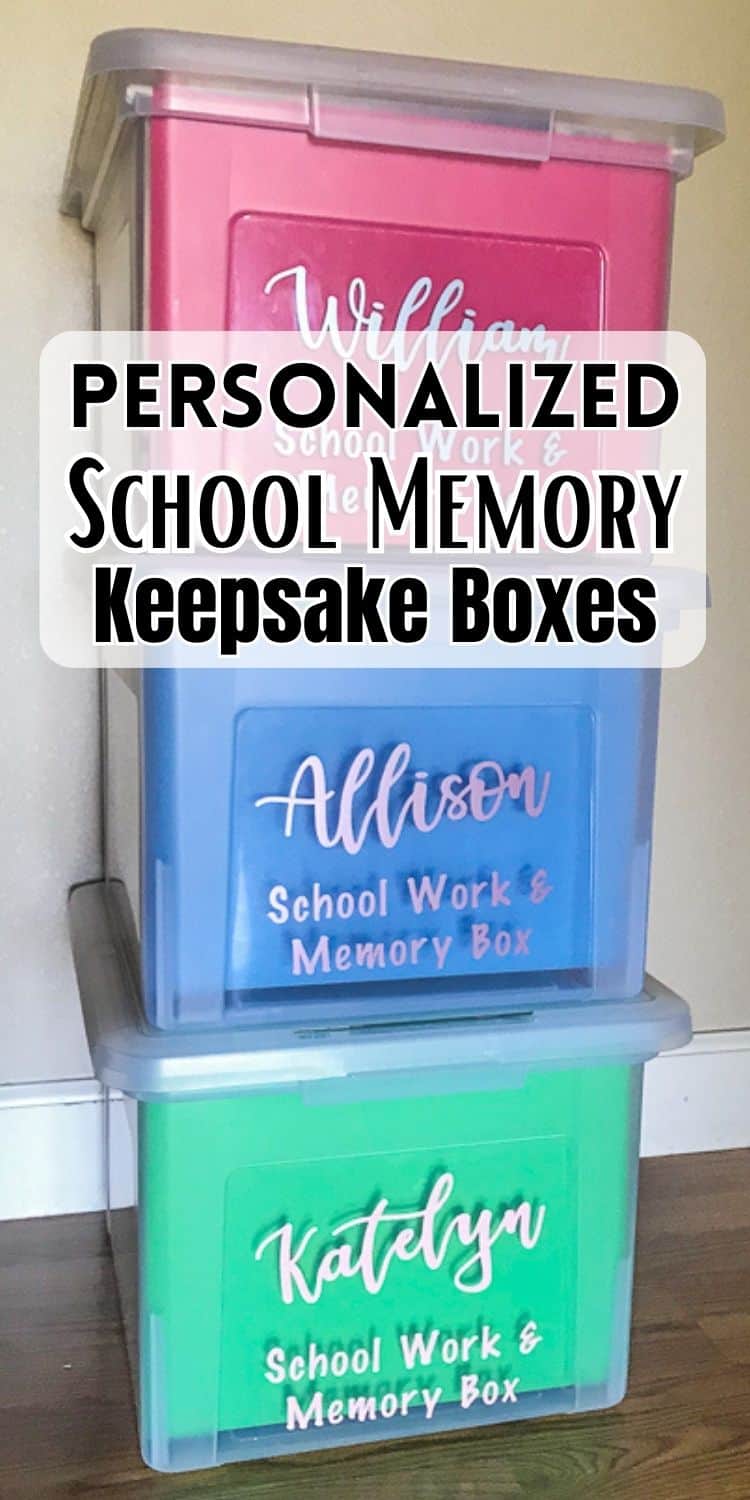
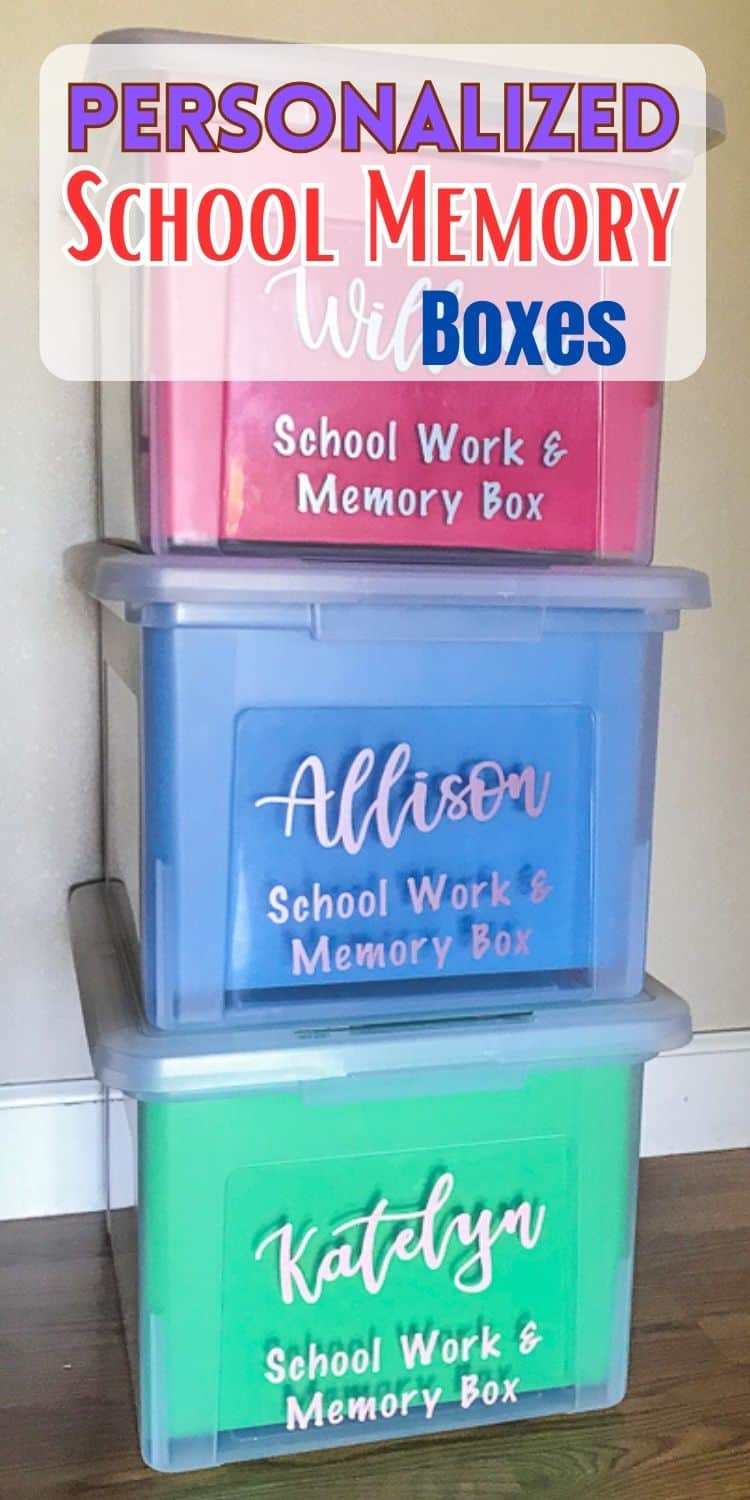
- Make a large label for the front of the school memory box with your child’s name on it. You can use large letter stickers or create them with your cutting machine (see below for directions).
- Now, get to organizing!
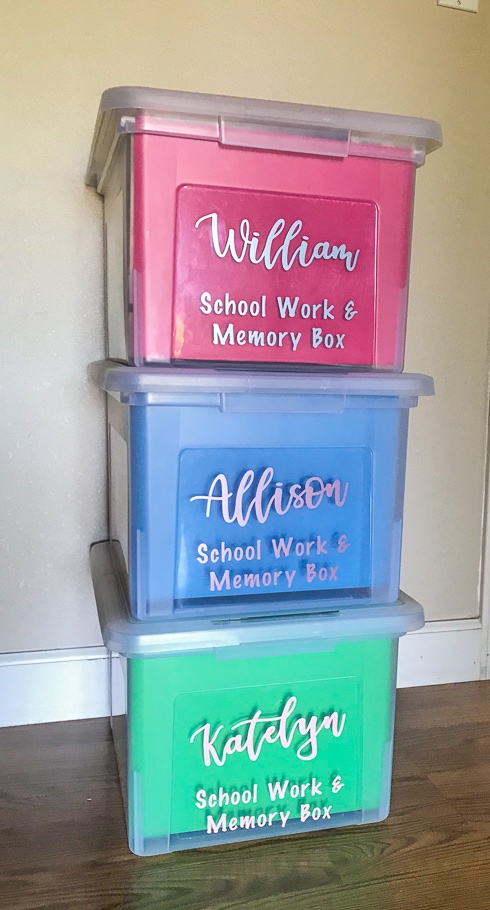
This was the fun (and easiest) part for me. I had a huge stack of artwork that I had been holding on to since my oldest was a baby. That’s seven years of papers that were collecting dust, causing clutter, and frankly, getting a little beat up.
This is also a good time to check in and decide if everything you have saved is worth saving. You do not have to save everything your child brings home. If you did, you will feel way more than just this box! Look at every paper, decide if it’s special, and save or throw away.
Check the price of the storage containers on Amazon
Then, find a place to store the school memory boxes that are easily accessible but not in the way. I also had to have a little talk with my kids to explain that these boxes were for mommy and for them when they grew up.
They are not allowed to dig into them without me. The last thing you want is for all of your hard work to get disorganized when you aren’t looking!
–>Sign up for our Newsletter<–
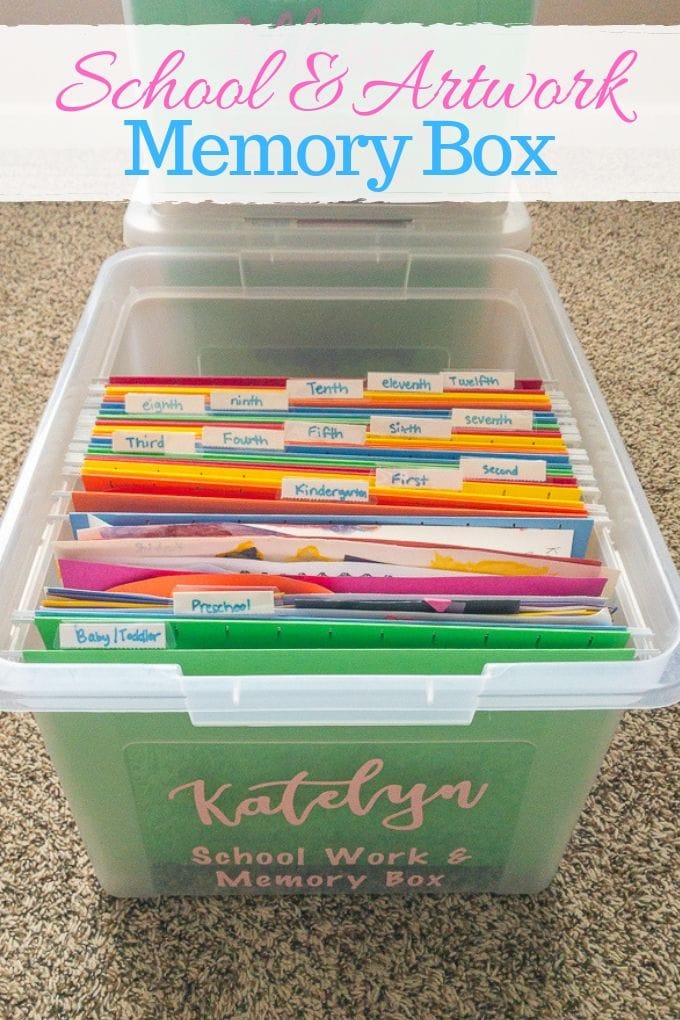
How to make school memory box labels with Cricut
I created my kid’s school memory box labels with my Cricut Maker. Here is how:
-
- In Cricut Design Space, write your child’s name and set the font to Welcome.
- Shrink the size of your letter space until the letters are touching.
- Select all of the letters and press the “weld” button.
- Stretch the name to a width of the name to 7 inches wide.
- Open a new text box and write “school work & memory box” and have it on two lines.
- Change the font to Marker Felt.
- Stretch it to the same width as your child’s name.
- Press the make it button and cut it out on your choice of vinyl using your Cricut.
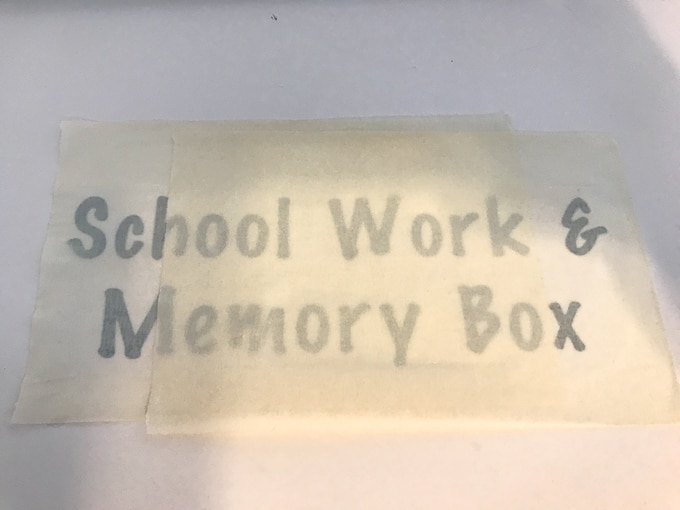
- Apply the vinyl to the front of the school memory boxes using Cricut transfer tape or another form of transfer tape. (I was in a pinch, so I used lint roll tape – buy it in bulk here)
Order your Cricut Now!
Other Fun Cricut Projects
- Learn how to make these adorable Mason Jar Tissue Holders using your Circuit-cutting machine!
- Learn how to make this fun Super Hero DIY tooth fairy pillow – perfect for the little superhero in your life!
- Learn how to make these adorable mermaid favor tags using the print-then-cut feature on your Cricut!
I loved making these school memory boxes. Not only did I get rid of a huge paper pile in my house, but I now have a designated landing zone for all of my kid’s artwork and school work!
Thank you for sharing this! I just got my boxes and folders ordered. This is a great project to organize my 3 boys’ memories in! I’m will keep adding their dr summary sheets (shows height, weight etc.) too and I have made photo books that will be included in these boxes. I hope it all fits! ☺️
Yay! Enjoy your project, Jamie.
Hi! I love this. I tried following your directions and can’t find the font Welcome in Cricut. What font name is the name Katelyn in?
Hi Gab,
I actually downloaded the Welcome font from dafont.com and saved it on my computer so it would show up in Design Space. That’s what I used for Katelyn. 🙂
– Aileen
I made one of these a few years ago while reorganizing my craft room. When we had to evacuate due to a wildfire I grabbed it. We lost the house, but I have these precious memories still thanks to this idea.
I’m so sorry about your losing your house. I’m glad you were able to grab some memories before evacuating. These wildfires have been so horrible. 🙁